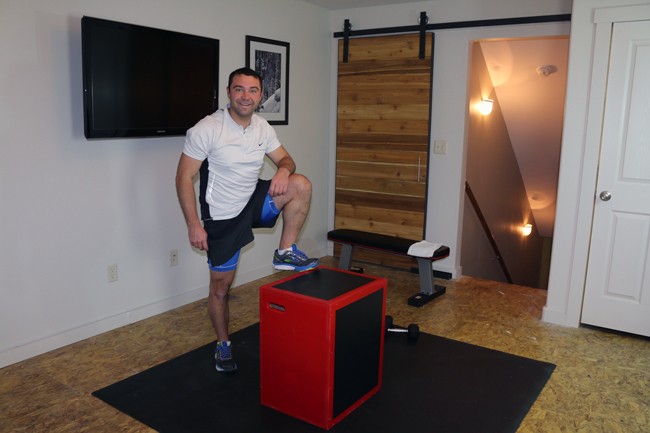

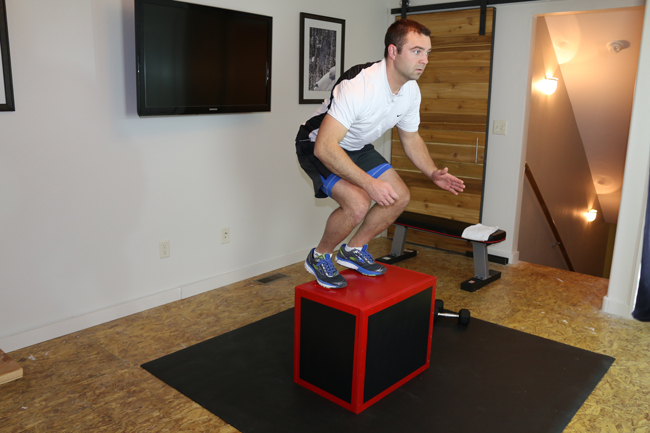
A plyometric box is a great addition to any home gym. This DIY plyo box has three different heights ( 24 inch, 20 inch, 16 inch ) and is made from one sheet of plywood. I decided to customize this DIY plyo box with Krylon SUPERMAXX All-In-One Black Hammered Finish and Krylon SUPERMAXX All-In-One Banner Red that I picked up at Walmart. The paint job turned out great and the hammered finish is super durable.
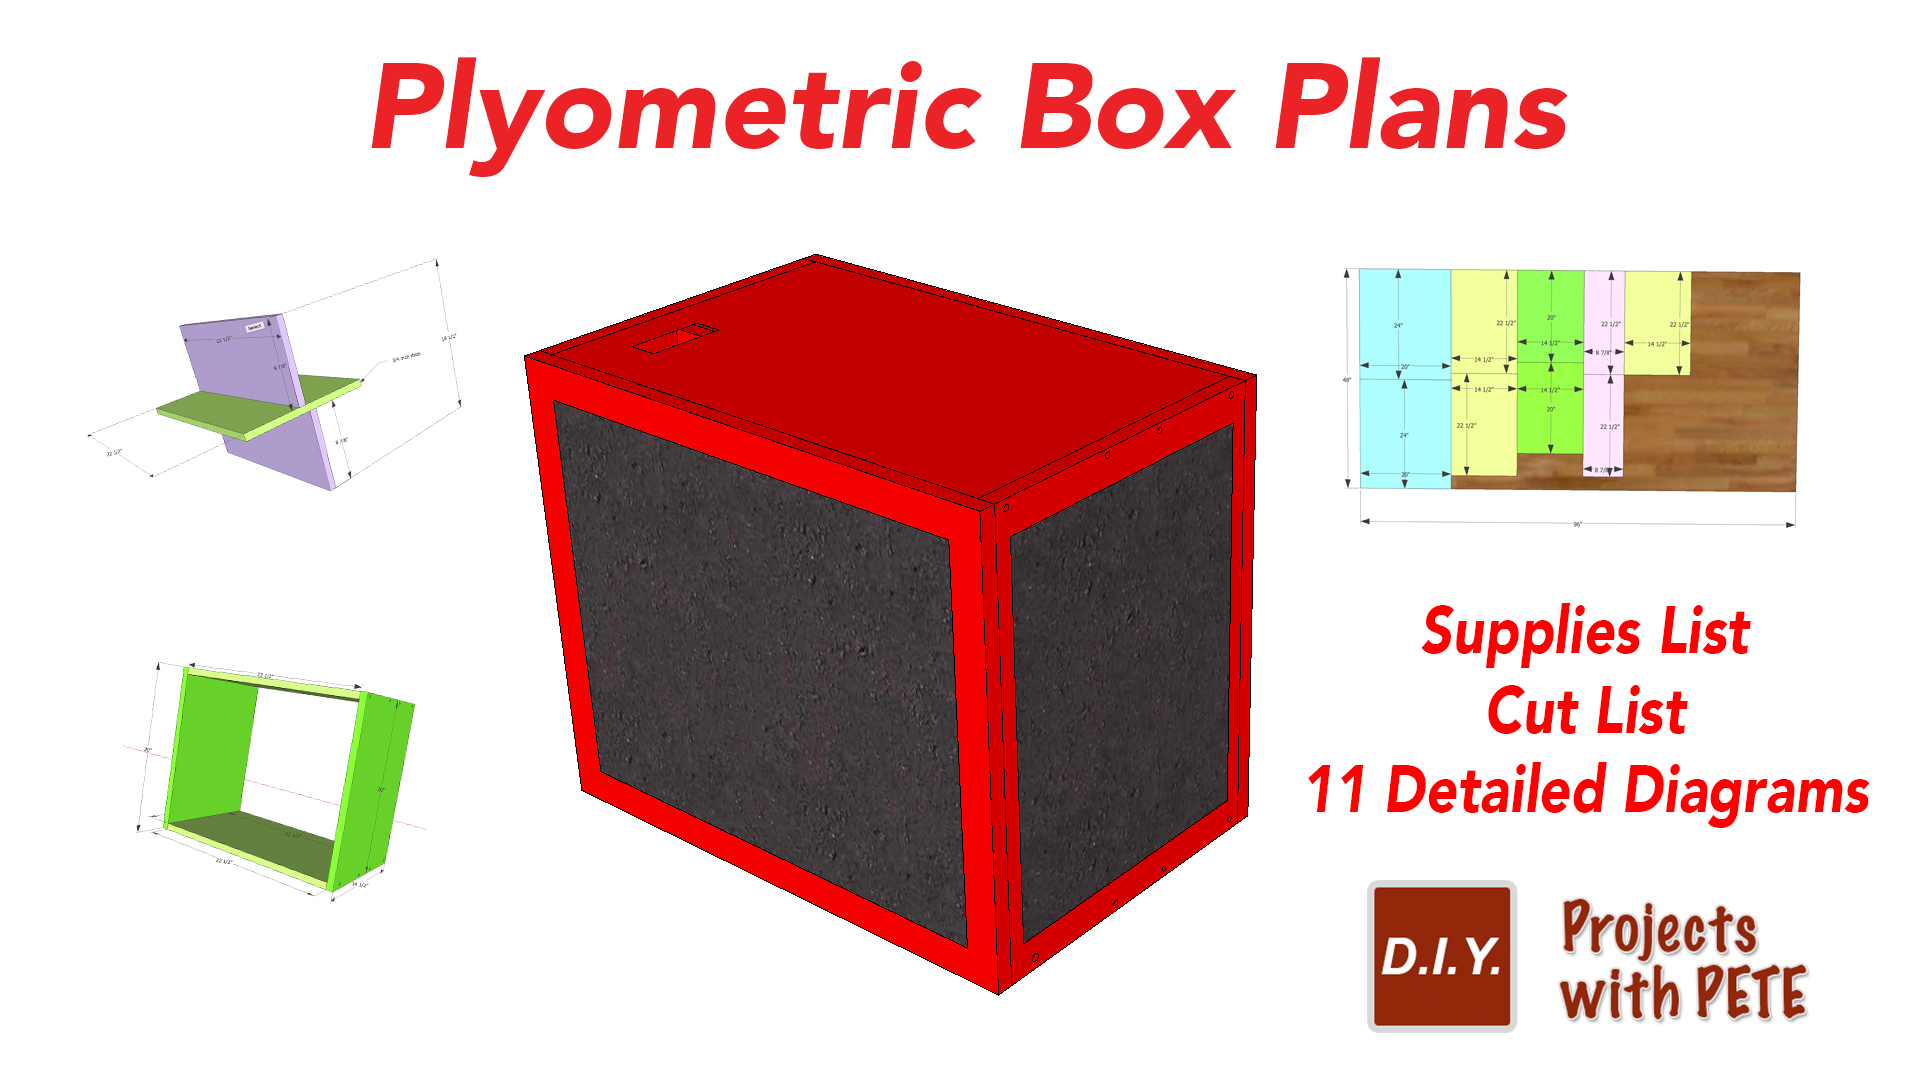
Have fun learning how to build a plyo box for your exercise routine! Download the free PDF Plyometric Box plans here!
This DIY plyo box project is sponsored by Krylon and I was compensated to create this project. I only promote products I truly believe in and would recommend to my friends and family. Krylon's DIY plyo box is one of those products.
Krylon SUPERMAXX All-In-One Black Hammered Finish (Available at Walmart)
Krylon SUPERMAXX All-In-One Banner Red (Available at Walmart)
Qty 1: Box of 2 inch long wood screws
Qty 1: 4×8 sheet of 3/4 inch thick plywood ( I used cabinet Grade )
Wood Glue
Drill and 1/8 inch drill bit for pilot holes
Impact Drill (Optional)
Table Saw or Circular Saw
Jigsaw or Router
Orbital Sander with 120 to 220 grit sandpaper
Painters Tape
Speed Square
Clamps (optional)
Tape Measure
Pencil
Respirator for painting
Eye Protection
Ear Protection
Hearing Protection
Prices for a DIY plyo box will vary depending on where you live and where the wood is purchased. Here is a look at the approximate DIY plyo box costs.
Wood: $35.00
Screws: $7.00
Paint: 2-3 cans: $12.00
Wood Glue: $3.00
Total Cost: $57.00
The first step for building DIY plyo box is to measure the panels for the plyometric box. Download the free Plyometric Box Plans here for the exact measurements. Put marks at the measurements provided and then use a straight edge and pencil to connect the marks so you have a nice straight line to follow with your circular saw.
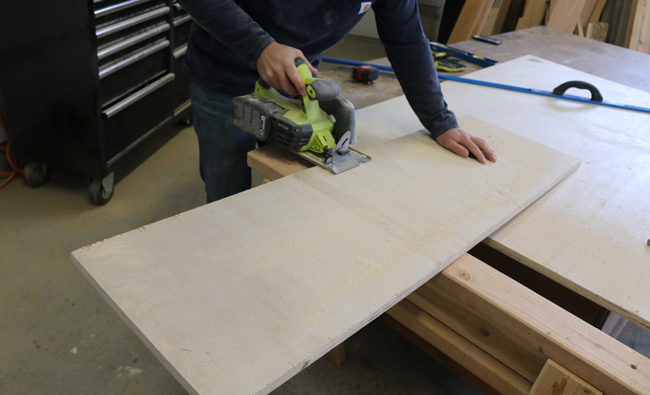
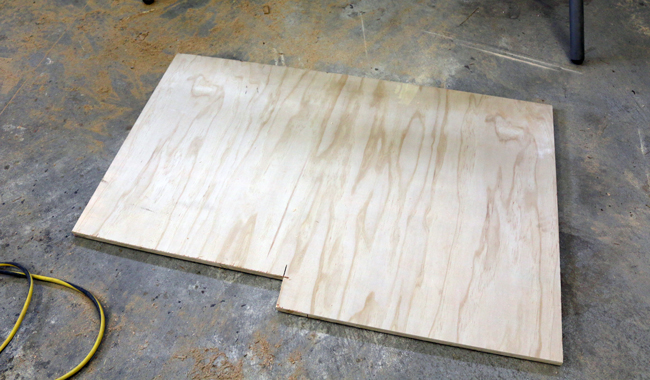
Cut each panel using a circular saw or table saw. Follow the line as closely as possible so your panels line up when it comes time to put the DIY plyo box together.
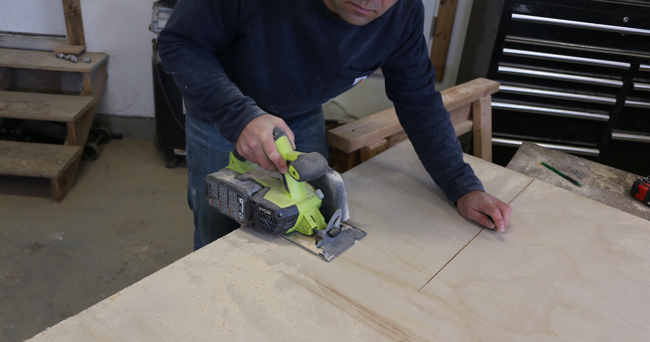
After making all the cuts I had some plywood leftover that I'll be able to use on another project.
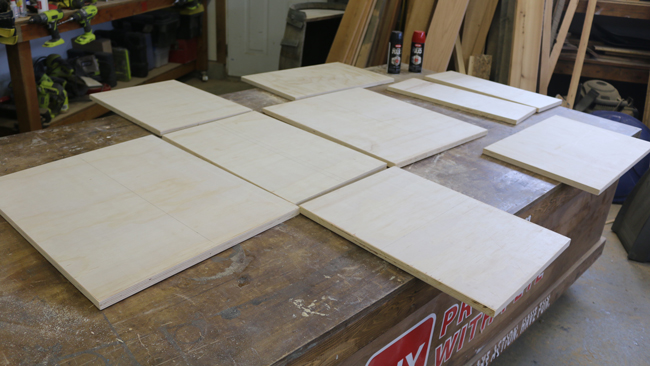
I cut a total of nine pieces. Six of the panels will form the box and the other three boards will be used as re-enforcement inside the DIY plyo box. Sand each panel with an orbital sander and 220 grit paper. At this time you can also cut the handles for the box. Decide which 2 panels you want to add the handles to. They'll need to be off center since the re-enforcement is going to be centered inside the DIY plyo box. I forgot to cut the handles so I cut them once the box was assembled(shown later in this post).
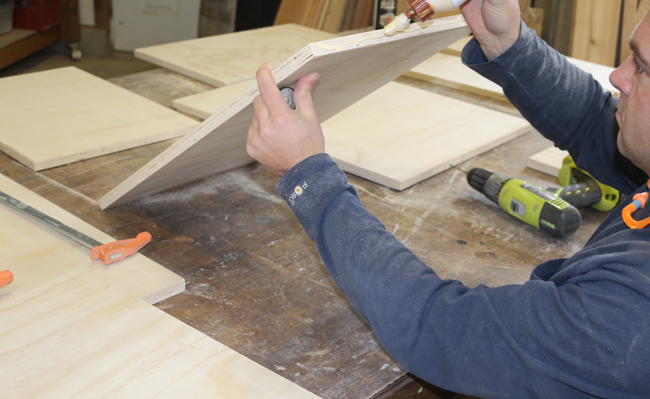
Add wood glue around each panel as you assemble the box together.
Use a drill with a 1/8 inch drill to drill pilot holes prior to adding screws. This will prevent the wood from splitting.
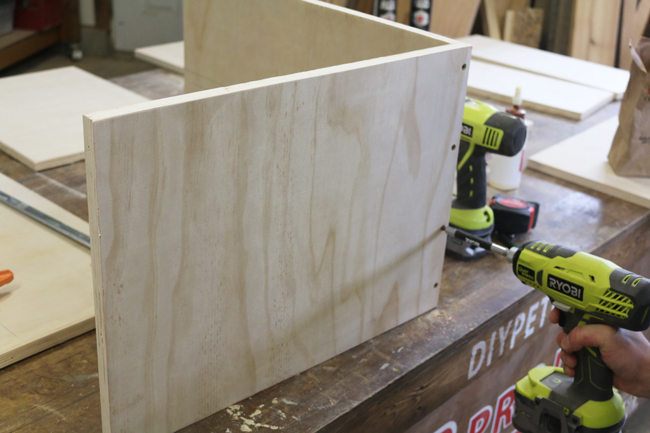
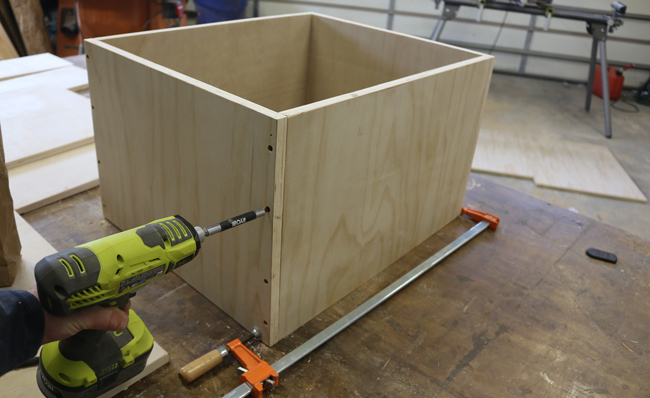
Continue around each side of the box. I used four of the 2 inch long wood screws at each corner.
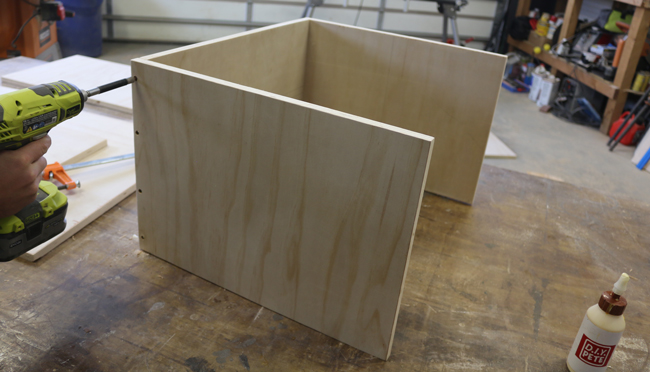
Slightly countersink each screw.
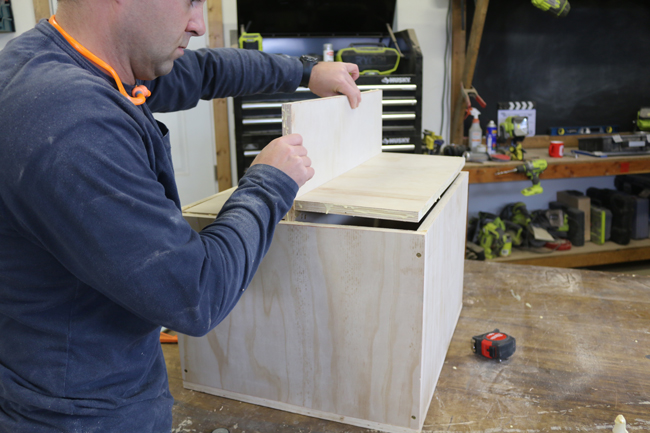
I decided to add re-enforcement inside the DIY plyo box. While it may not be entirely necessary, I do recommend adding it for extra strength. Draw a line down the center of the re-enforcement and then offset each smaller panel. One smaller panel will go on the left side of the line, and the other will go on the right side. This will allow you to add screws from each side.
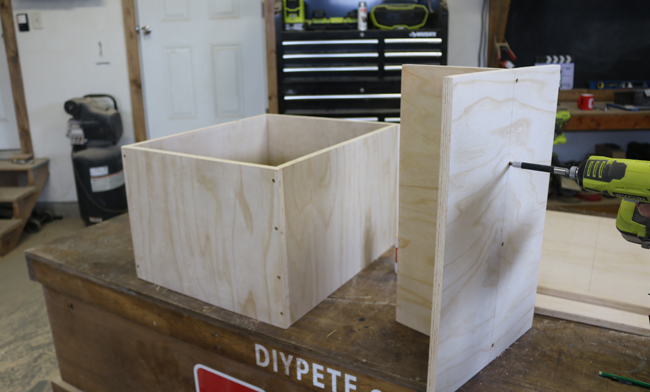
By offsetting the smaller panels you'll be able to add screws for each panel.
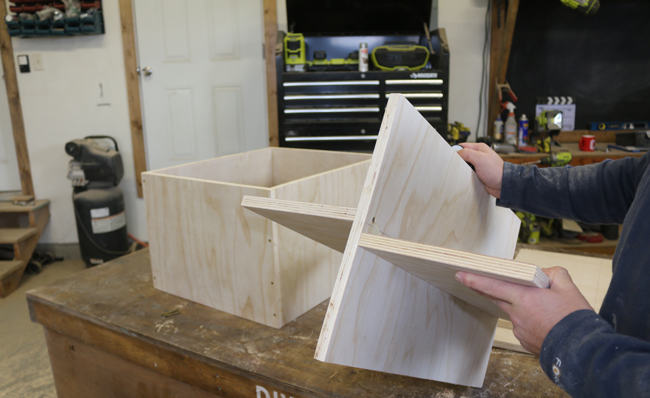
Glue prior to attaching the bottom panel of the box.
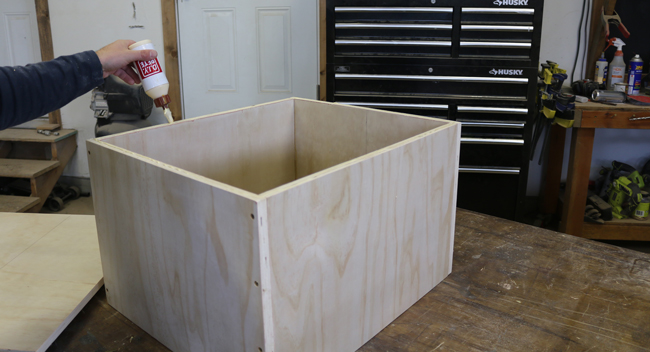
Attach the bottom panel with 2 inch long wood screws.
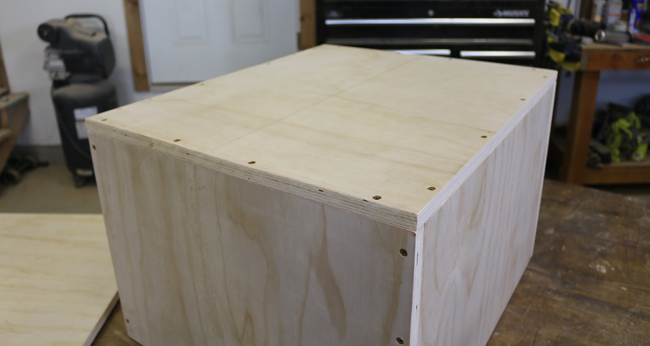
Slide the re-enforcement into place. I glued each end and slid it into the box. If it is a snug fit you will not need to use any screws.
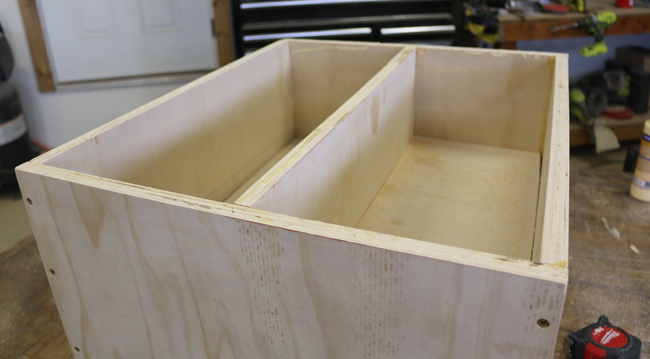
The re-enforcement is in place and has a snug fit. Once the glue cures it won't budge.
Secure the final panel to close up the DIY plyo box.
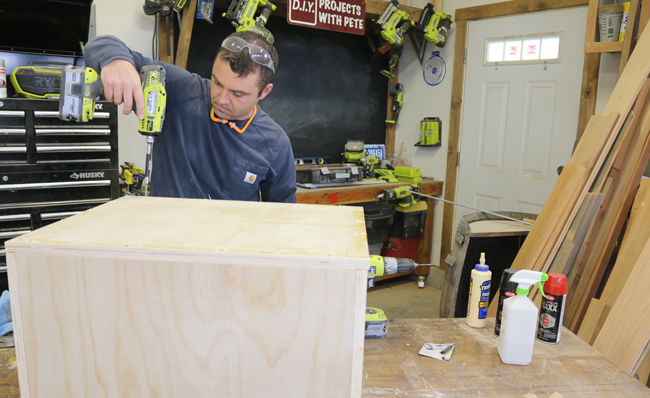
Use 220 grit sandpaper to smooth out the boards and remove rough edges.
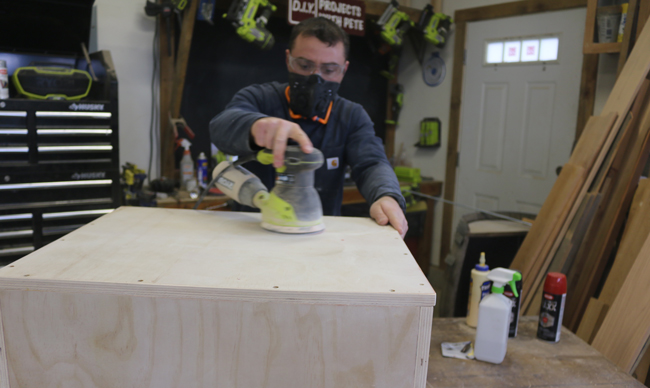
Fill holes (Optional)
You could fill the screw holes with putty if you'd like. I did not, but wanted to show that you can if you want to. If you do choose to fill the holes make sure to sand away excess once it cures.
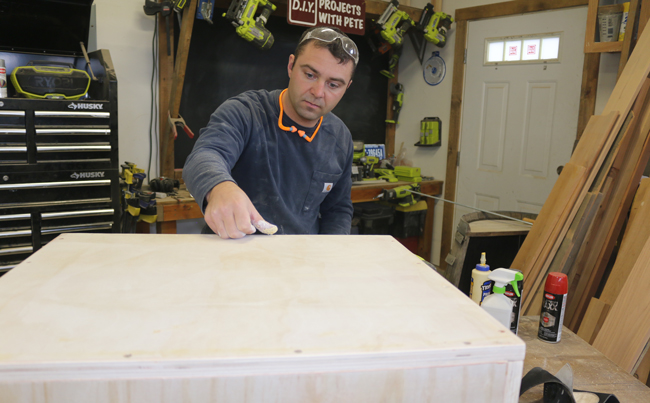
I drew a 1 1/4 inch by 4 inch box as a reference for cutting out handles. I'd recommend cutting out the handles prior to assembling the box. I forgot to do this earlier so am doing it now. You can cut out the handles by using a drill bit to create a small hole big enough for the blade of your jigsaw or for a router bit.
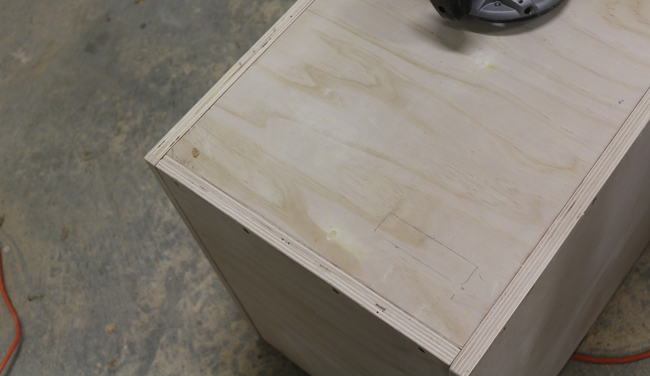
Cut the hole for the handle using a jigsaw or router.
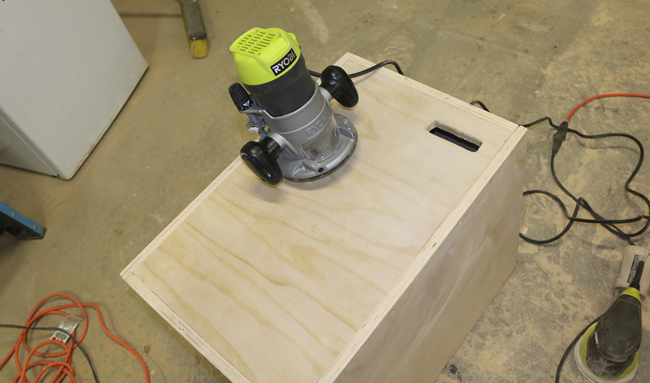
Here is a look at the completely assembled plyometric box prior to painting.
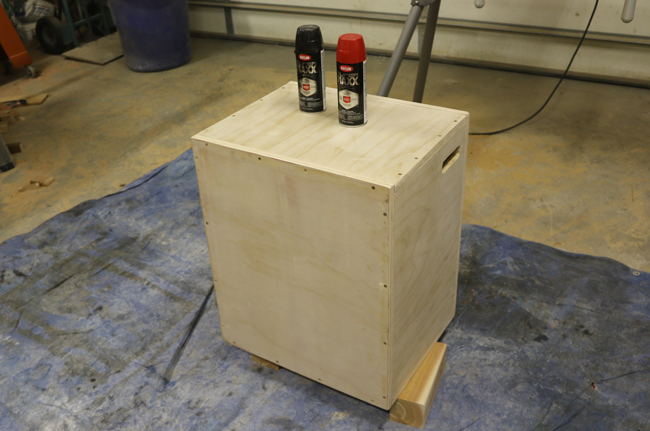
Start customizing your DIY plyometric box with paint. Coat the diy plyo box evenly. I started by painting the entire box with Krylon SUPERMAXX All-In-One in Banner Red Spray Paint. Make sure to wear a respirator for this process and to ventilate the area as best as possible.
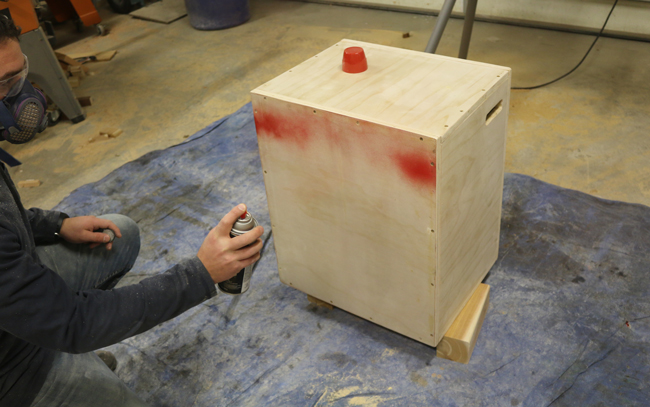
Here is a look at the first side after 2 coats.
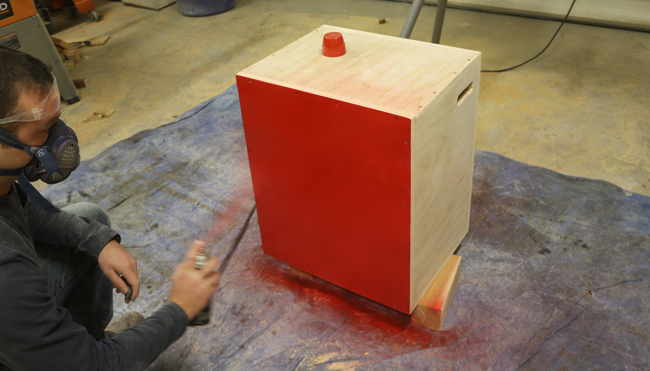
The first color is complete! I chose to use the red first since the hammered black has texture and is more opaque.

Measure 1 1/2 inches in from each side you'd like to add the hammered paint to. Use painters tape to mask off the border. Make sure the spray paint is completely cured before taping over it.
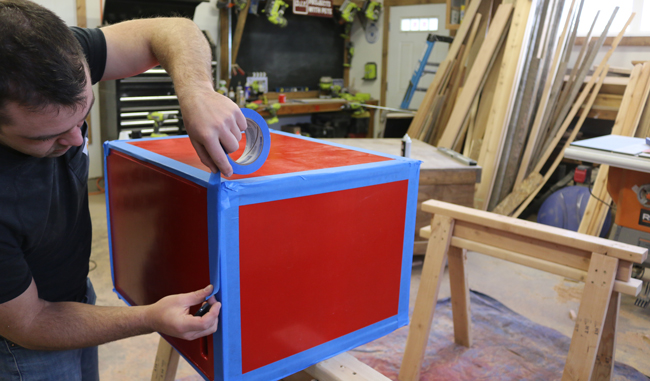
I decided to leave 2 panels completely red and so I taped off those sides.
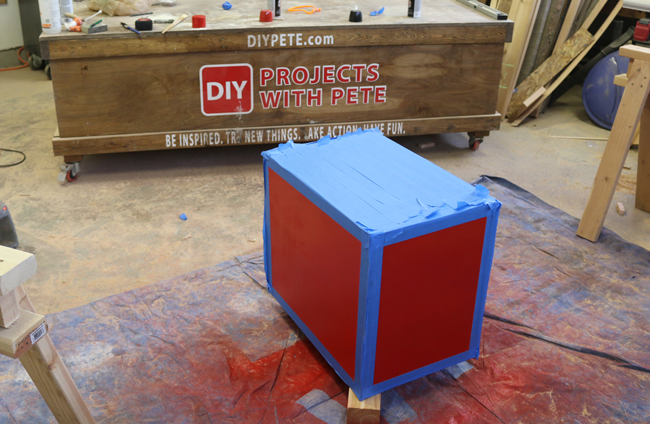
Paint the panels using Krylon SUPERMAXX All-In-One Black Hammered Finish. I used two coats.
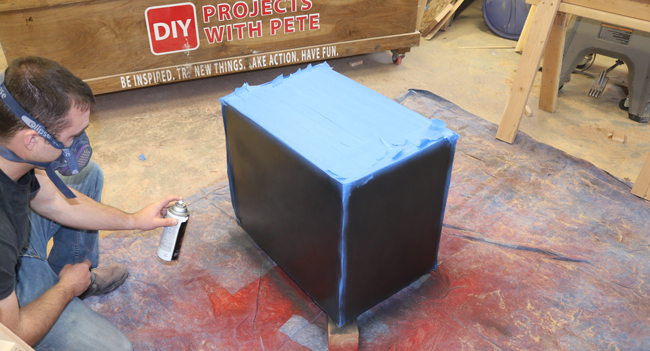
Let the black paint start to dry for about 10 minutes and then remove the tape. I've found that the lines come out super clean when you remove the tape before the paint has completely dried.
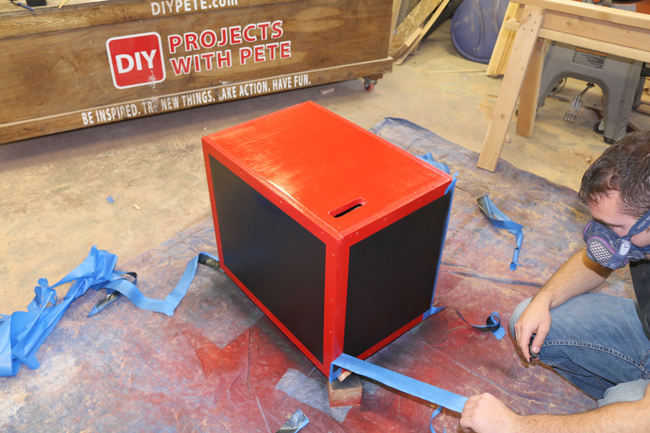
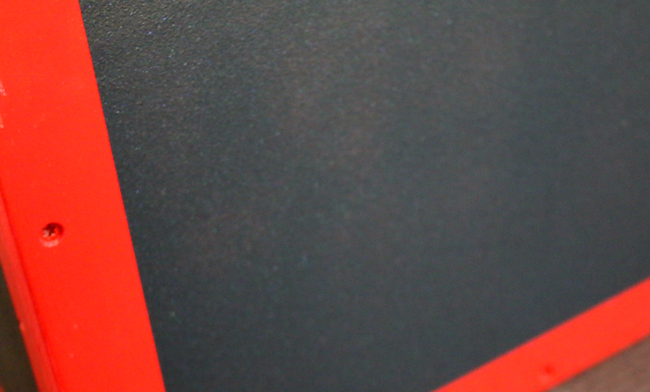
Here is an up close look at the texture of the Krylon SUPERMAXX All-In-One Black Hammered Finish. It is super durable and adds some nice grip to the box.
The plyometric box has 3 heights. Here is a look at the 24 inch height.
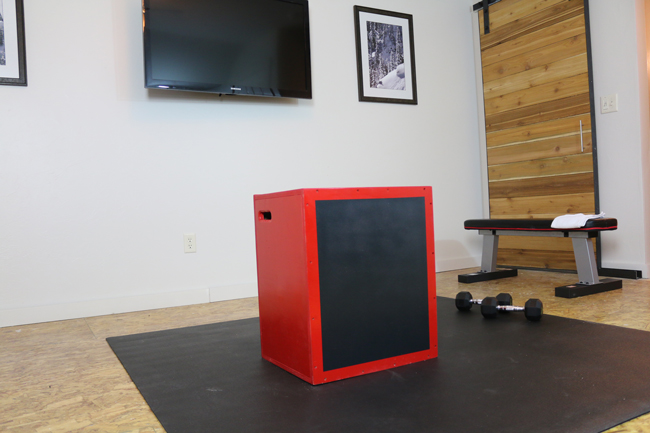
20 inch plyometric box height
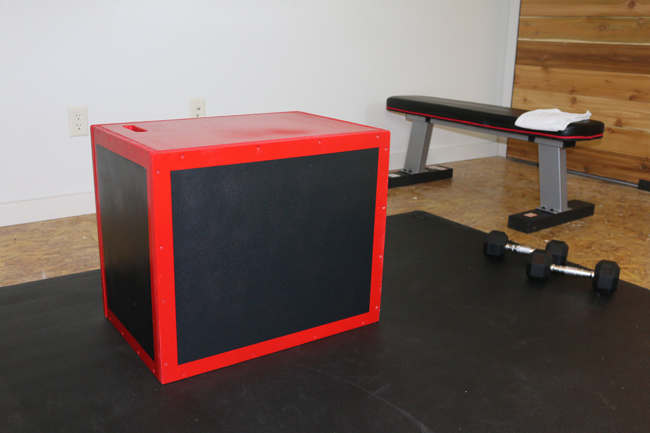
16 inch plyometric box height
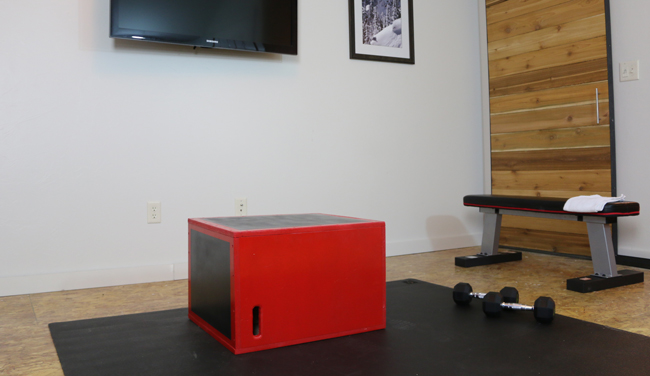
Now it is time to start using your new plyometric box to get in shape!


Thanks so much for checking out this article about how to make a plyometric box. Please share with your friends and family and post photos of your DIY plyometric box below. Good luck on the project and cheers from Montana! – DIY Pete